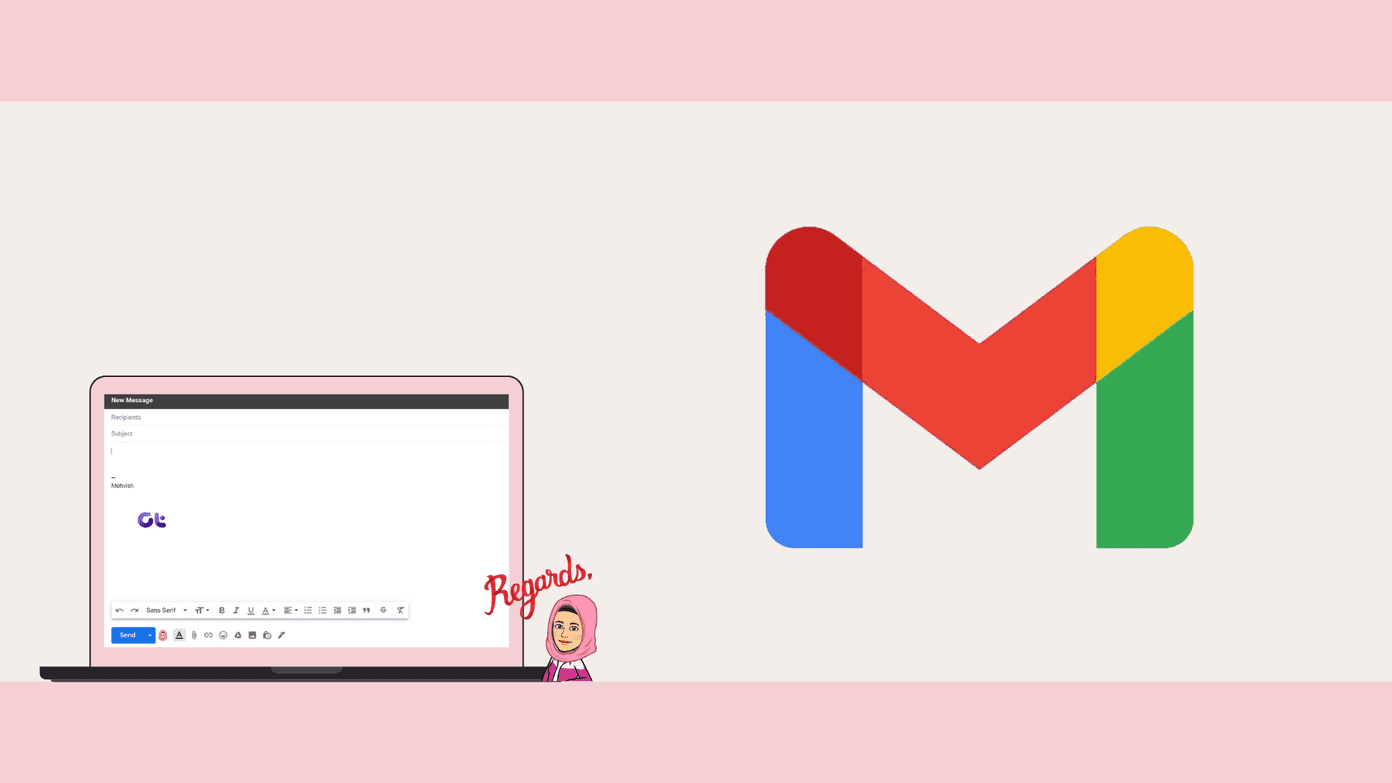
Gmail users are facing different kinds of issues related to signature images. For some users, the image disappears altogether, and for others, a question mark appears instead of an image. Other issues include being unable to add an image without inserting the URL and the signature image appearing as an attachment. Let’s check various ways to fix the problem when the Gmail signature image is not showing up.
1. Check Necessary Conditions
Image signatures will not show for emails sent from Android and iPhone/iPad Gmail apps. The mobile apps only support text signature. And you need to create it separately from the Gmail apps by going to Settings > your account > Signature. So the following fixes will be based on the web version of Gmail only.
2. Use Right Steps to Add Image in Signature
As mentioned above, you can add an image in your signature only from a computer. So open gmail.com and log in to your account. Click on the Settings icon at the top and select See all settings. Scroll down under General setting and you will see the Signature section. Click on the Create new button. In the right box, hit the Insert Image icon from the toolbar to add a picture to your signature. The Add an image window will open. Here you can add images from multiple locations – Google Drive, from your computer using the Upload option, and Web address. Choose your preferred type and hit the Select button. You will be taken back to the Signature section. Here you can modify the size of the image and hyperlink your signature image. Finally, scroll down and hit the Save changes button. Now when you compose an email from a PC, you will see the image in your signature.
3. Copy-Paste Image
For some Gmail users, the option to upload images from Drive or your computer doesn’t appear. All they see is the Image URL option. If that’s happening to you as well, you can try the copy-paste method of inserting images in your signature if you don’t want to use the link option. This solution has worked for many Gmail users. There are two ways to do that. Firstly, right-click on the required image and select Copy image from the menu. Then go to the Signature section in Gmail settings. Right-click on the Signature box and hit the Paste option. Alternatively, compose a new email and copy-paste the image in the body of the email. Do not attach the image. Just copy-paste it. Then send the email to yourself. Once you receive the sent email, open it, and right-click on the image in the email. Hit the Copy image option. Then go to the signature creation screen in Gmail and paste the image directly into your signature. Save changes.
4. Use Correct Link to Insert Image
When adding a URL of the image, users often add incorrect links. Basically, you need to add the image address and not the link to the page containing the image. To get the correct URL for your image, right-click on the image, and select Copy image address. Alternatively, right-click on the image and select Open image in the new tab. Then copy the URL shown in the address bar. Paste the copied address from any of the two methods in the URL section of Gmail Signature’s Add image window. That should get the right image.
5. Select Right Signature
In case you have created multiple signatures in Gmail, you can either set a default signature or select the one with the image when composing an email. To do the latter, compose an email in Gmail. When the New message window appears, click on the Pen icon in the bottom toolbar. You will see the list of your signatures. Select the one that you want to use.
6. Disable Plain Text Mode
If Plain text mode is enabled for Gmail compose screen, you will not see the image in your signature. So you need to disable it. For that, open the New message window by clicking on the Compose button. Then click on the three-dot icon at the bottom of New Message window. If you see a checkmark icon next to Plain text mode, that means it is enabled. Click on it to disable it. Close the window and click on the Compose button to start again. Hopefully, your signature image will appear.
7. Give Sharing Permission to Drive Image
Typically, when you insert an image from Google Drive in Gmail’s signature, its privacy will automatically change to ‘Anyone can view it’. However, at times that may not happen. That’s why you might see a question mark icon. So you will need to change the permission manually. You can read more about Google Drive sharing permissions. For that, open Google Drive and right-click on the image. Select Share from the menu. Change the permission mode to ‘Anyone with the link’ can view the file. Now you can either select the image directly from Drive folders that show up in Gmail’s signature window or copy-paste the image link when you click on the Insert image option. Note: Do not delete the images from your Google Drive while being used in your signature. Further, if you have a work or school Gmail account, you should contact your administrator to share Drive images publicly.
8. Log out of Gmail Account
You should log out from your Gmail account to fix issues with the signature image. If multiple Google accounts are added, log out from all of them. Then create a signature. Alternatively, open Gmail in your browser’s incognito mode or try a different browser to insert an image in your signature.
Preserve Your Image
That’s how you fix and set up a proper image in your Gmail signature. If you are using images for Gmail signature from an external source, make sure the images are still live. If the image is deleted or the URL has changed, it will not appear in your signature. The best practice would be to add an image from your computer directly or from your own Google Drive account. Next up: Wondering what do various features in Gmail mean? Check out the difference between Gmail’s mute, snooze, and archive from the next link. The above article may contain affiliate links which help support Guiding Tech. However, it does not affect our editorial integrity. The content remains unbiased and authentic.


