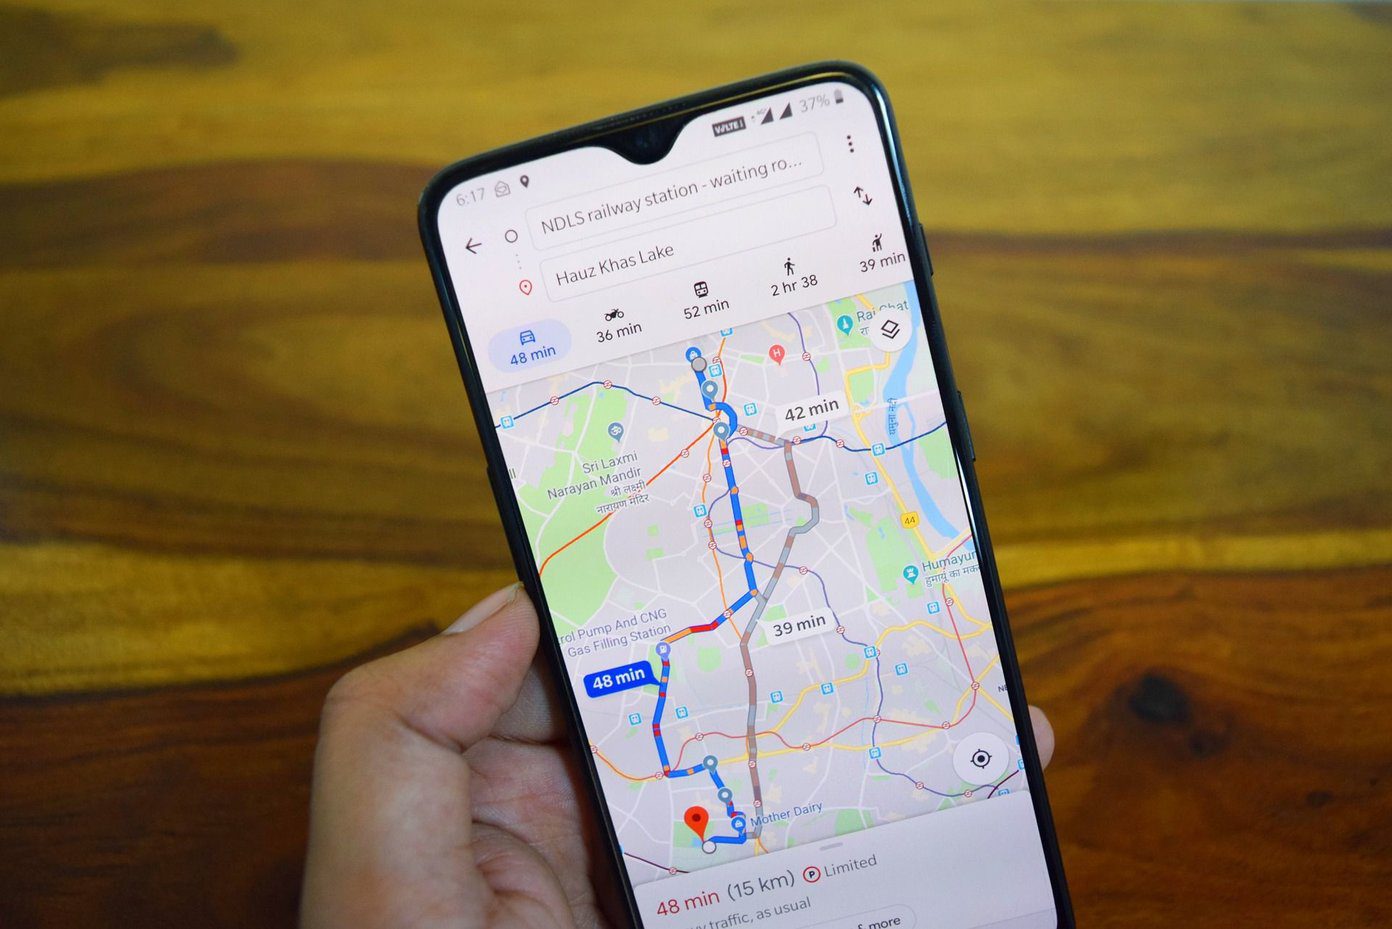
Adding labels to Google Maps has two advantages. First, you can easily locate that place again on Maps instead of typing out the name to search for it. At the same time, even if you know the route, you get a rough estimate of the time and traffic before you leave. It’s fairly easy to add multiple markers to Google Maps, whether it’s on your Android smartphone (or your iPhone) or your PC. Let’s see how to add multiple places on Google Maps.
How to Add Multiple Labels on Google Maps
Since Google Maps offers similar features on its iOS and Android app, you can try this out on either platforms. Step 1: Open Maps and tap on the Maps icon on the top-left corner. If you already have the labels for Work and Home, swipe right and tap on the More option. Step 2: Tap on the Plus icon at the bottom right corner to enter the address. You can add the address directly or use the map to drop a label. The former is a better option since it lets you fine-tune the exact location. What we usually do is enter the rough estimate and then edit it further on the map. Step 3: Once you have finalized the location, tap on Ok to add the location to your list of saved labels. Carry out the above steps for all the locations you frequent. So, the next time you tap on the search box, the saved labels will be available just next to Work and Home. You simply need to swipe right to see them all. While you can remove a label, you can’t edit it from this page. At the same time, you can’t arrange the position of the labels. They appear in alphabetical order after Home and Work. The good thing is that you can also pin the location to start the drive (or have a preview) straightaway. To pin the location, tap to open a label and swipe up on the details card. Now, tap on the Pin option. Open the Pinned location, open the Go tab on your Maps app, and swipe up on the Details card. All the pinned locations will be displayed straight away. All you need to do is tap on Start to begin the journey. Labels are marked private, and no one else will have access to them.
How to Change Name of Labels on Google Maps
As noted earlier, you can’t edit a label from the Add Label page directly. The option to do so is a tad hidden. Step 1: Navigate to the Saved tab on Google Maps. If you have saved them fairly recently, the said labels will be visible right on top. Step 2: Click on the label to bring up the Detail card. Here, tap on Edit Label to change the name.
How to Add Multiple Labels on Google Maps for PC
Adding a label in the web version of Google Maps is simple and easy compared to the app. Step 1: Search for a place on Google Maps. Click on the location to bring up the details on the left panel. Step 2: Scroll down on the panel, and click on the Add a Label. Name the label, and that’s it! Naturally, the new labels will appear both on your phone and PC. To view all the labels on PC, click on the hamburger menu on the top-left corner, and select Your Places.
Bonus Trick: Add a Parking Location
This is one of our favorite features in Google Maps. The clever thing to do is to use it to save the location of any place temporarily. However, it only works for current locations. Step 1: On your phone, open Maps, and tap on the Current location icon on the right. Step 2: Tap on the Blue dot, which will bring up the Blue dot menu. Tap on Set as parking location, and that’s it. Google Maps will save that location until you remove it manually, or after a certain amount of time has passed. Google Maps saves it for approximately 8 hours. Also, you can save only one parking location at a time. To access a parked location, tap on the P icon on the Maps, and tap on either Direction or Start. To clear a parked location, bring up the details card and select Clear.
Ease Your Journey
So that was how you could add a label on Google Maps. As noted earlier, these are private lists which means you can’t share them. To make a list shareable, save it to a list other than Labelled. The above article may contain affiliate links which help support Guiding Tech. However, it does not affect our editorial integrity. The content remains unbiased and authentic.


